Showing posts with label sidecar repair. Show all posts

Thursday, December 15, 2011

Sidecar Floor Repair Is Done!

I had to wait till the wee hours of the night for some peace and quiet. Since its finals week the shop has been a mad house.
 It was a two person job to do the dolly work because you cant reach inside with a dolly and hammer at the same time.


The support bracket was spot welded


It's 6am and there you have it. I need some sleep...

Sunday, December 11, 2011

And Little More Steib Work

It was time to weld the stiffener plate in before the bottom gets closed up.
I ended up reshaping the panel by hand to get it to fit properly.
Fast forward - I painted the panel and the body so the panels wont be bare steel on bare steel anymore. Sure its gonna burn a bit when its welded but its better than rusting through again.
I pre-drilled holes in the stiffener so it can be spot welded to the floor later just like the original panel. 
All tig welded and this was the biggest pain in ass ever. Basically the way you see it in the above picture was the only access I had getting inside. But its in, its solid and its smooth.
The floor panel is up next!

Wednesday, November 16, 2011

Still More Steib Work!

My apologies if this is all I've been posting lately but this really the only thing I've been working on lately motorcycle wise. Also as soon as this is finished I can start working on the 550 Suzuki project again.
I used the two vice clamps to get the flanges as flat as possible against each other to make for a better weld.

 
I started cutting material out so the new panel can lay flat against the body so I can trace my lines for the final cuts.
 
Lookin better all the time!

Monday, November 14, 2011

More Steib Work

Since the two bottom panels are done the next piece that had to be made was the inside support piece. A quick template was made.
 
  
This piece turned out great. With all the pieces made I can start cutting the floor apart.


Thursday, November 10, 2011

Sidecar Repair Continued

Got a little more work done on the sidecar the past few days.

Both panels look good and fit nice so its time to tip the edge to match the seam the runs underneath the sidecar body.

I ended up making my own tipping tool out of some sqaure tube and angle iron.


Both halves tipped nicely but once I got to the "nose" of each panel I had to stretch the edge at the same time to keep the piece from buckling.


Both edges are tipped and smoothed out great. I think next I am actually going to spotweld the two halves together just like the factory and then drop the two panels in as a whole and weld everything up.

Tuesday, October 25, 2011

Another Photo


Taken by my friend Samantha.

Sunday, October 23, 2011

Wednesday, October 12, 2011

The Panels

The panels are starting to take shape.

These two panels are junk.... (no bodies perfect!)


After a lot of shrinking and some stretching in spots I wouldn't have expected, my replacement panels are almost there.


Once I'm positive the panels are shaped properly I'll then tip the edge for the spot welded seam and then start cutting out the old material.

Tuesday, October 4, 2011

The Template

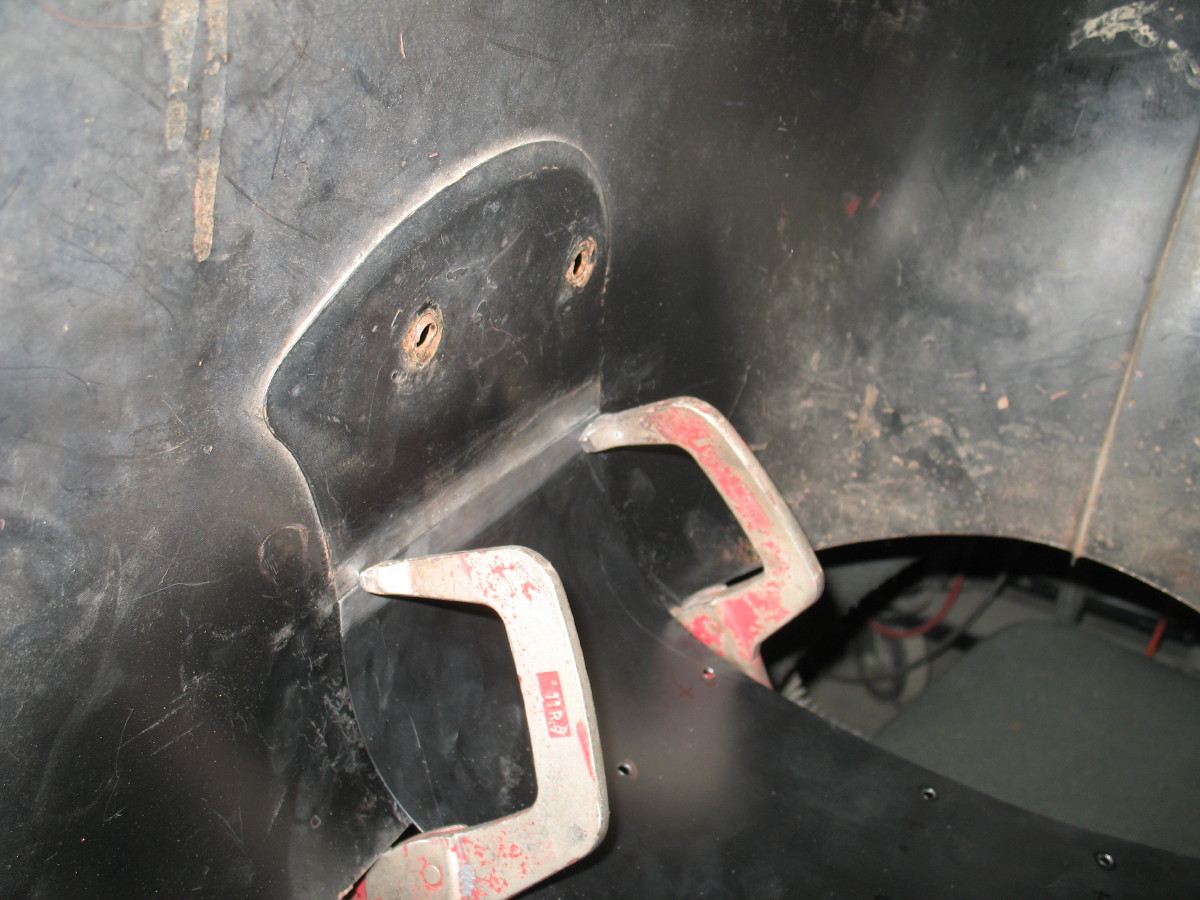
The sidecar body was the perfect example to show the sheet metal shaping class tonight how to make a template to transfer shapes and forms using painters tape.


Blue painters tape is laid down in one direction with reinforced packing tape laid down in the other direction. This locks in the shape and allows the form to be transferred. Once its pulled, sprinkle some talcum powder to prevent the blue tape from sticking again. Very simple and much more effective than trying to use chipboard or paper and pie-cutting it to lay flat against the surface.


Need the template for the otherside?


No problem! Just pop it inside out and works for otherside.


The 20ga steel has been cut using a Beverly sheer and is now ready for some shaping. Stay tuned!