Showing posts with label gs550. Show all posts

Saturday, December 15, 2012

I need to start working on this bike again...

After graduating from Pratt I had to pull the bike out of the shop and bring it back to NJ. Since then its been stuffed in the corner. I'm so close to finishing it too. But that's what happens when you have too many other toys to tinker with and not enough funds for it all. But who am I kidding, you all know that....


Monday, May 21, 2012

Back Home

Once again things have been pretty busy - multiple trips in and out of Brooklyn and trying to get things in order at home. However, the Suzuki is back home and sitting pretty. It won't be long and I can fire it up again. For now it's just good to sit back and stare at it over a beer. I know you've all done it too.

Monday, April 30, 2012

Getting There

It's really starting to look like a motorcycle now. Funny how just installing the bungs and gas caps will do that. The caps and bungs I extracted from some beat up triumph oil tanks. I just need to finish welding the tanks, add some fittings, finish mounting the battery box, and finish welding the foot controls. The last major item is making the clutch pedal and the mechanism to operate the clutch cable, which is going to take some machining. The set up I have in mind you can go from foot shift to hand shift with just two bolts and re-route the cable. We'll see how it goes...

Wednesday, April 25, 2012

Back To Some Suzuki Progress

I ended up making a new battery box because the old one just wasn't working out well. The new one is slimmer and flows with the fender. The brake and shift linkage is hooked up so now I need to start thinking about the foot clutch option. The coils are boxed in and the tanks fit fairly well. Theres a breather cover on the top of the engine that I need to make clearance for and then I can weld the tanks up. The caps and bungs are ready too. Rumor has I'll also have my seat back tomorrow.


Monday, March 26, 2012

Some Better Shots


Gas Tanks and Foot Controls: GS550 Update!

Ok! So these pictures really suck. I forgot my camera going to the shop today so my phone was all I had. But heres some recent and major updates on the bike. I finally got the sheet metal bent on a press brake for the inside of my tanks. I'm still going with the split tanks and needed the inside plates bent for my "tunnel" over the back bone.
 The main mounts will be on the back bone so they will be hidden. No mounting hardware on the outside of the frame. Should be a super clean look.
 Adam helped me out making a few bungs for the frame.
Super tight, super clean.
 I now have a great silhouette of the tanks. And oh yeah, my seat is getting upholstered. I hope to have that in another 2 weeks. 


The foot controls!! I made this quick sketch in class. I decided to skip on the brass bushings. Really no need. Everything will be greased before assembly and will work just fine. I tried to keep this set up as simple as possible. Take a piece of cold rolled steel, turn one side down to the size of some DOM pipe, drill and tap the end to mount the pegs. I had to eliminate the bolt from the plate because there was simply no room because of the frame. Welding is a better, stronger, option anyway. I just had to be careful where I mocked up the pegs so when I bolt them down that they're in the right position. 
I have two sets of original shifters and brake pedals that I'll use to make my controls. No sense in buying new when you have used already in the box!
 On the lathe. Its really been over a year since I used one and it was great to be using it again. 
A few hours later and the finished product! Peg, washer, DOM pipe, threaded rod, and the turned down cold rolled. 
 Tig welded the turned down cold finish to the brackets. Before welding, I drilled a hole in the back of the plates so I can weld these pieces from the back. They're super strong and won't break off. EVER. Top it off, all this will be sent out to be chromed.
 Everything is mounted and is looking great and most importantly working great. And yes, thats the another shifter hanging off the side of the frame. More on that later...
  These pegs and controls  have turned out so incredibly strong. It may seem extreme to use solid stock but since these mounts are so heavy, it should eliminate any vibrations. I should seriously patent this set up.
 Not too much is left! Next, I need to make a few more tabs and cut the rods for the rest of the controls and finish the gas tanks. Also, build a new battery box. Then just a few odds and ends. For instance, that side cover with the red tape on it. I peeled off the thin Suzuki emblem to discover a huge hole behind it. It will have to be tig welded closed and smoothed out. It was nice to spend a solid day away from the computer but it's time to get back to working on my animation. Check more of that out here: http://www.the-requiemride.com

Thursday, March 1, 2012

More Foot Control Stuff

To keep moving forward with my forward controls I had to make a rocker arm to transfer the motion from the forward controls to the rear wheel. I had two brake levers and chose to cut up the bottom one. Sorry for the bad cell phone pics, its all I had at the time.

 I could see that by shaving down the material where it curves, there was a tab hidden inside.
I just used a cut off wheel and then mostly the die grinder to get the shape I wanted. No mill work here!


This setup will look snazzy once its all re-chromed.
For me personally when building bikes, I find it more rewarding finding creative ways to use the stock parts you have. Anyone with the proper skills can chuck something up on the lathe or the mill and make the part above, but it takes a creative eye to use what you have and still make it look cool.

Sunday, February 26, 2012

Foot Pegs!

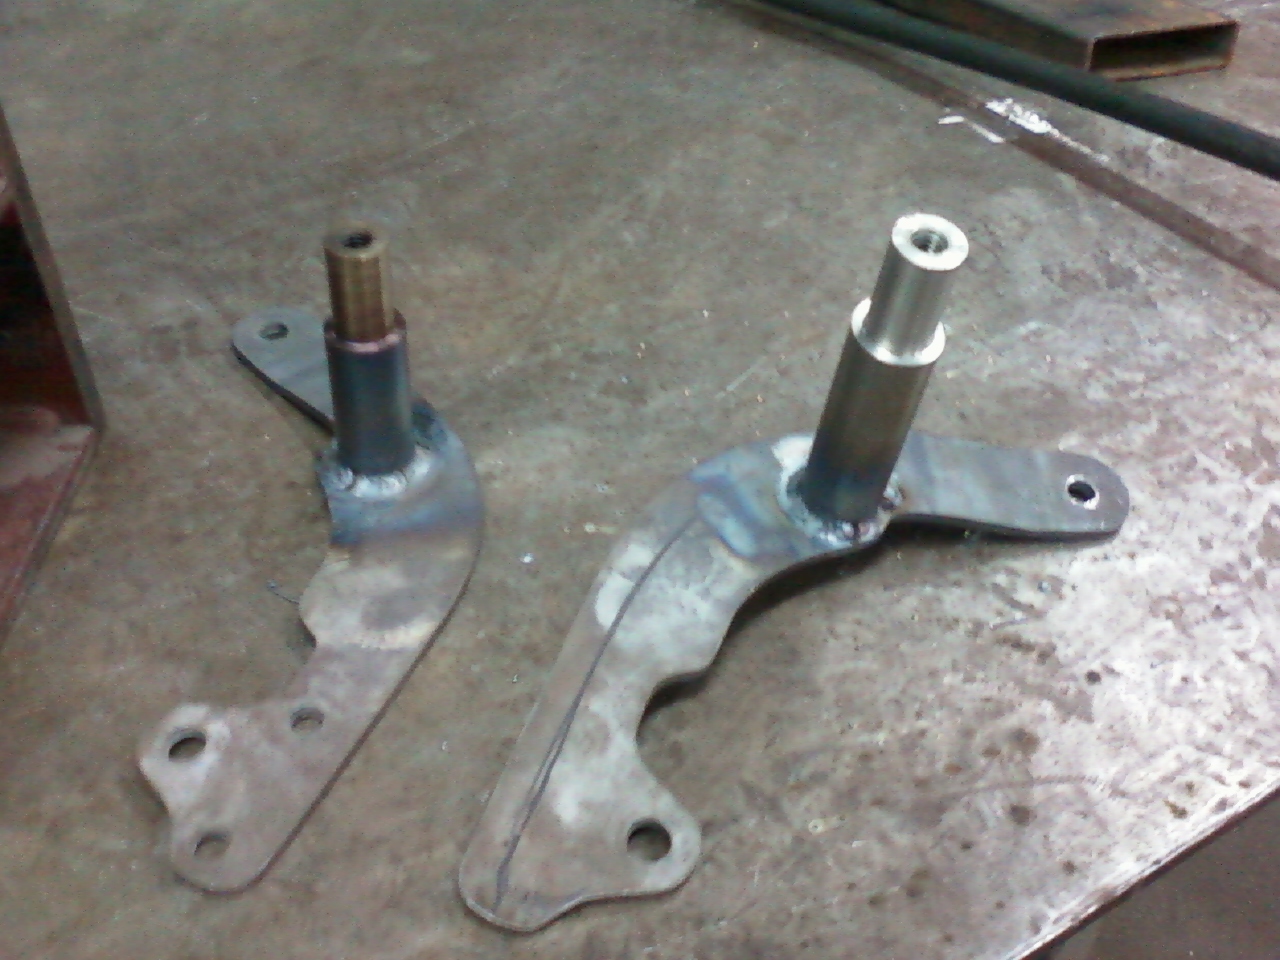
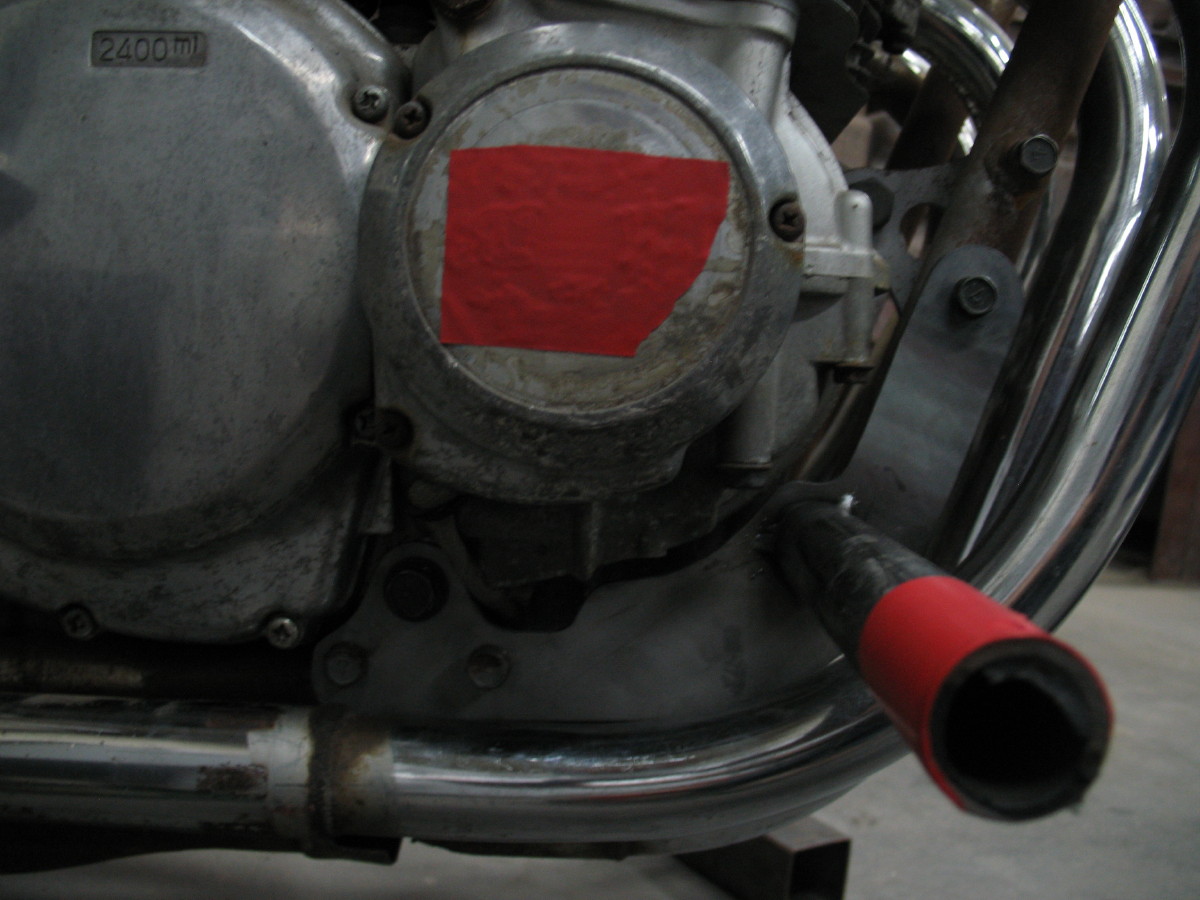
 Finally got to make my mounts for the foot pegs. The bracket on the lower left is the original right side lower motor mount. I got the idea to copy that plate but extend it to the front middle motor mounts. I started with some cardboard templates and then cut the plates out with the plasma.
 Also needed to do a little heating and bending to reach the middle mounts.


 They're quite strong and sturdy. The pipe is tacked on to get an idea for the pegs. And the red tape? well, they're shin-catchers at the moment.
 Feels right! I can now start working towards making the new brake pedal and shifter.

Tuesday, February 7, 2012

Coil Brackets

I had a hard time figuring out where to mount my coils. The wires were too short to hide them anywhere far from the motor. At the same time I didn't want them draping over the motor like spaghetti coming from the battery box. With the coils mounted in almost their stock position, the wires will just drop down from under neath the tank. Clean and hidden. Sometimes keeping things stock isn't a bad thing!

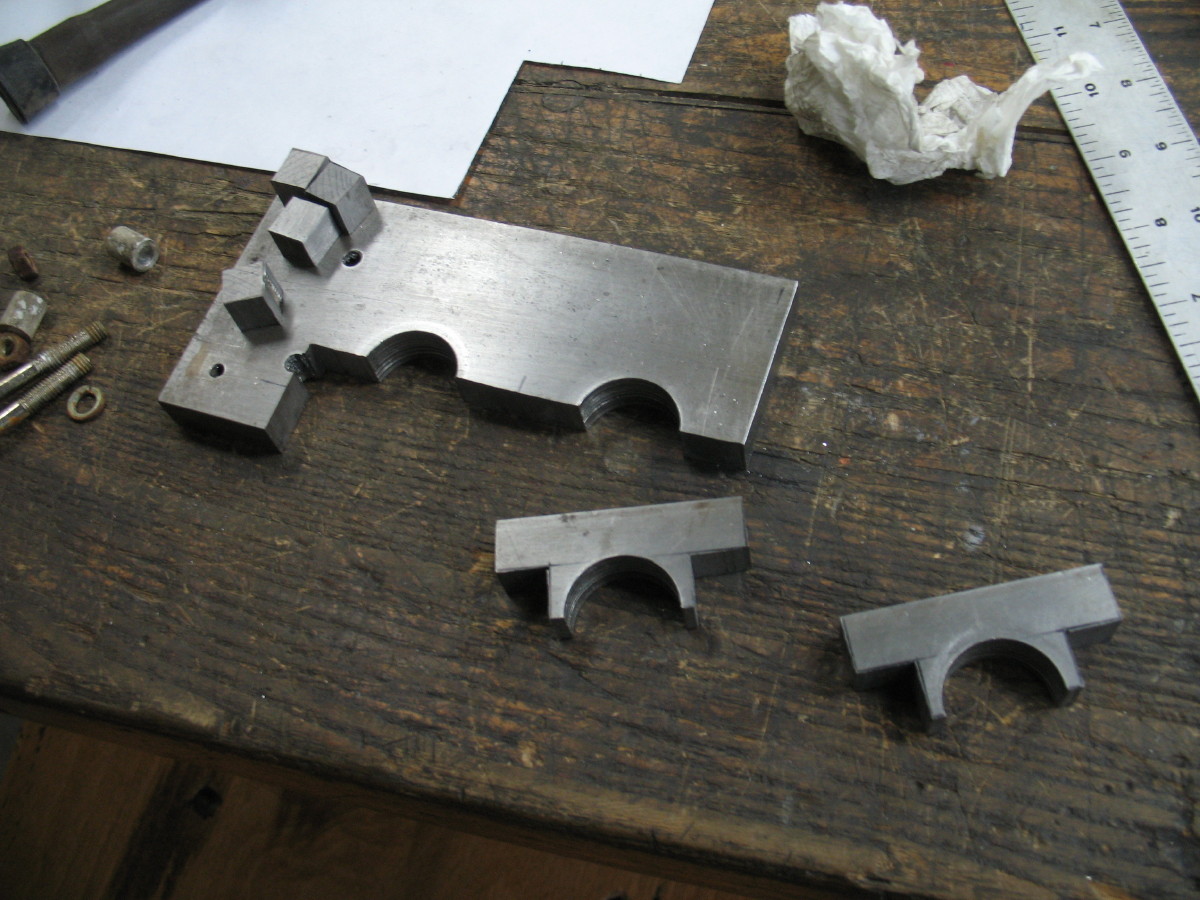
Quick template and some 1/2 cold finished steel.
I first used a 1" hole saw to essentially fish-mouth the brackets for the frame. Yes, I thought of drilling once and making the 2nd piece on the opposite side. However I wanted to use the finished factory edge on top of each piece. I didnt have time to set up the mill to do this. All cuts were made on the band saw and filed quick.
I then drilled my holes for the coils to mount to.
 Should sit like so.... Yes the frame is getting badly rusty...
 I just mig welded it quick because I'm so short on time.
 All cleaned up and they do the job. Now I can make the back of the tanks. I'm going to have to dish the wall in slightly to clear the coils but everything will work out fine. Nice and clean.